Beginner’s Guide to Lacto-Fermentation
Beginner’s Guide to Lacto-Fermentation: Everything You Need to Know to Get Started
This post contains affiliate links. If you purchase through my links, I earn a small commission at no extra cost to you. Thank you for supporting Simple Root Life!
If you’ve ever eaten sauerkraut, yogurt, or a real dill pickle — you’ve already tasted lacto-fermentation. It’s one of the oldest food preservation techniques in the world, and right now it’s having a very well-deserved comeback.
But if you’re new here and wondering what on earth lacto-fermentation actually is — don’t worry. I was exactly where you are. Confused, a little intimidated, and not sure where to start.
This guide covers everything you need to know as a beginner: what lacto-fermentation is, why it’s so good for your gut, what equipment you need, and how to make your very first batch. Let’s dig in.

What Is Lacto-Fermentation?
Lacto-fermentation is a natural process where beneficial bacteria — primarily Lactobacillus — convert the sugars in food into lactic acid. That lactic acid acts as a natural preservative, giving fermented foods their characteristic tangy flavor while keeping harmful bacteria out.
The name has nothing to do with dairy. „Lacto“ simply refers to lactic acid, which is produced during the fermentation process. You can lacto-ferment vegetables, fruits, grains, and more — completely dairy-free.
The process is beautifully simple: salt, vegetables, and time. That’s it. No vinegar, no heat, no special equipment required to get started.
Why Is Lacto-Fermentation So Good for You?
This is the part that changed everything for me.
1. It’s packed with probiotics Lacto-fermented foods are teeming with live beneficial bacteria. These probiotics help populate and balance your gut microbiome — the community of microorganisms that plays a huge role in digestion, immunity, mood, and overall health.
2. It increases nutrient availability Fermentation actually breaks down anti-nutrients in vegetables (like phytic acid) that can block mineral absorption. This means your body can absorb more of the good stuff from fermented vegetables than from raw ones.
3. It improves digestion The lactic acid produced during fermentation helps stimulate digestive enzymes and supports the production of stomach acid — making it easier to break down and absorb your food.
4. It supports your immune system About 70% of your immune system lives in your gut. A healthy, diverse gut microbiome means a stronger immune response. Eating fermented foods regularly is one of the most powerful things you can do to support this.
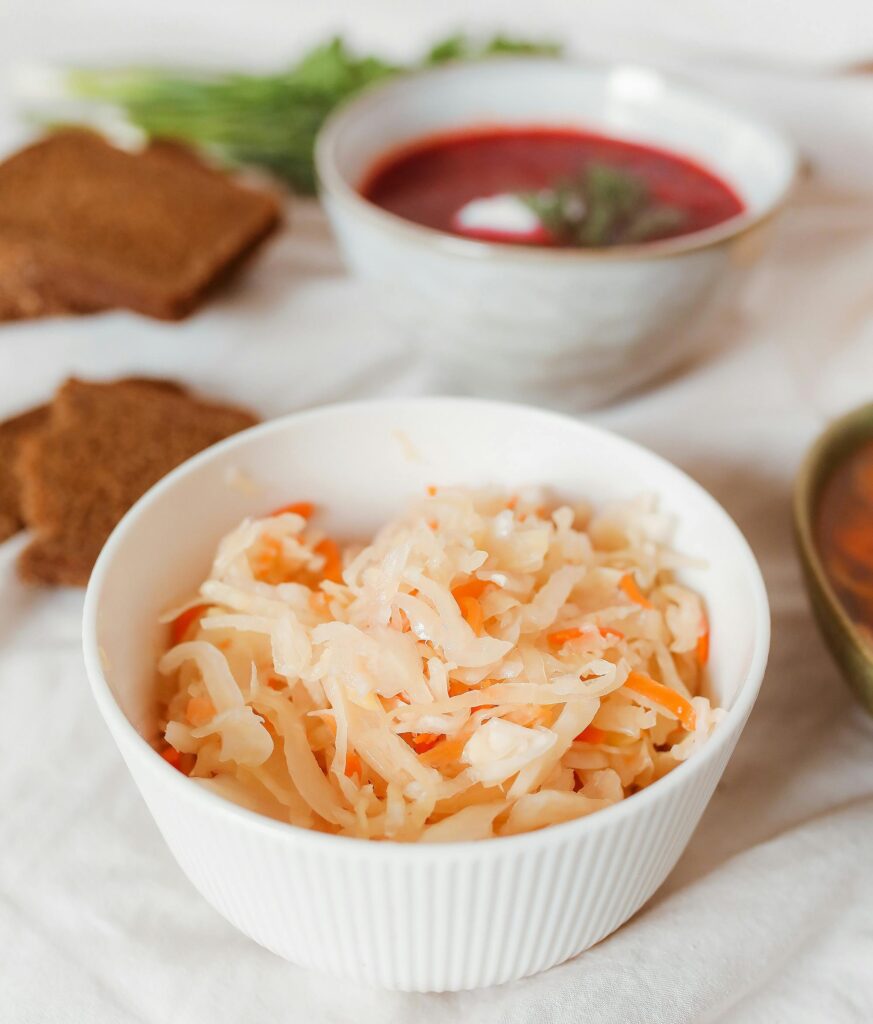
5. It preserves food naturally Before refrigerators existed, lacto-fermentation was how people preserved their harvest through winter. A jar of properly fermented sauerkraut can last months in the fridge — no canning, no processing required.
Lacto-Fermentation vs. Pickling — What’s the Difference?
This is one of the most common questions I get, so let’s clear it up.
Pickling uses vinegar to preserve food. The acid comes from outside the food. Pickled cucumbers from the grocery store? Almost always vinegar-pickled. They taste sour but contain no live bacteria — the heat processing kills them.
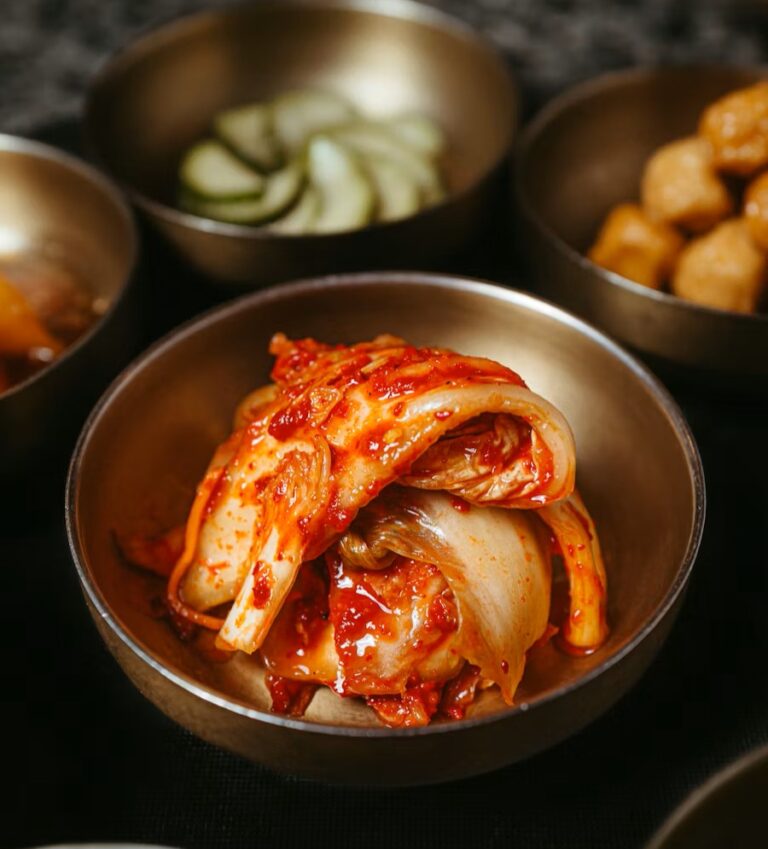
Lacto-fermentation creates acid from within the food through bacterial activity. The beneficial bacteria are alive and active. Real sauerkraut, kimchi, and traditional dill pickles are lacto-fermented.
The difference matters enormously for your gut health. Only lacto-fermented foods contain the live probiotics your body needs.
What You Need to Get Started
Here’s the beautiful truth about lacto-fermentation: you don’t need much.
The Basics (You Probably Already Have These)
- A glass jar — a regular wide-mouth mason jar works perfectly to start
- Salt — non-iodized is important (iodine can inhibit the good bacteria). Sea salt or kosher salt are ideal
- Vegetables — cabbage, carrots, garlic, cucumbers, radishes… almost anything works
- A weight — something to keep vegetables submerged under the brine
- A cloth or lid — to cover the jar while allowing gases to escape
Upgrade Your Setup (Optional but Helpful)
Once you catch the fermentation bug — and you will — a few simple tools make the process even easier:
Fermentation Jar with Airlock An airlock lid lets carbon dioxide escape without letting oxygen in, which means more consistent results and less risk of mold. The JILLMO Fermentation Jar 1.5L with Airlocks (2-Pack) is a fantastic beginner option — it comes with glass weights and airlocks included.
Fermentation Weights Keeping vegetables submerged under the brine is the single most important thing you can do to prevent mold. Glass weights are the safest and easiest solution. The Masontops Pickle Pebble Glass Weights fit perfectly in wide-mouth mason jars.
A Proper Fermentation Crock If you get serious about fermentation — especially for larger batches of sauerkraut or kimchi — a ceramic crock is a game changer. The water-seal design creates a truly anaerobic environment. The Kenley Fermentation Crock ½ Gallon is beautifully made, includes weights and a pounder, and will last you years.
Complete Starter Kit If you want everything in one box, the Masontops Complete Mason Jar Fermentation Kit includes lids, weights, a pump, and a recipe book — everything a beginner needs to get started with confidence.
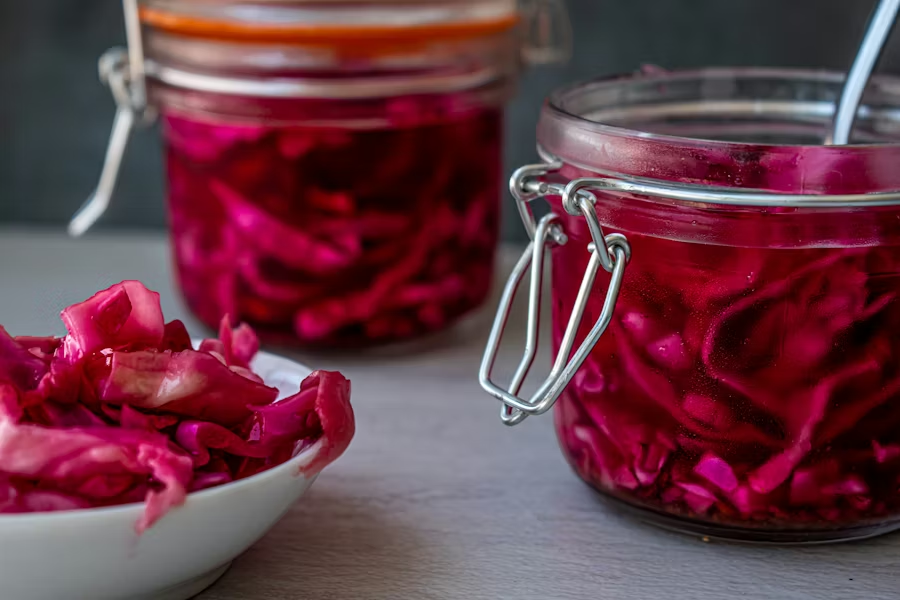
Your First Ferment: Simple Sauerkraut
Let’s make something. Sauerkraut is the perfect first ferment — it’s forgiving, it’s delicious, and it teaches you everything you need to know about the process.
What You Need
- 1 medium head of green cabbage (about 2 lbs)
- 1 tablespoon non-iodized sea salt
- A wide-mouth quart mason jar
- A glass weight or small zip-lock bag filled with brine
Step-by-Step Instructions
Step 1: Shred the cabbage Remove the outer leaves and set one aside — you’ll use it later. Shred the cabbage thinly, about ⅛ inch thick. You can use a knife, mandoline, or food processor.
Step 2: Salt and massage Place the shredded cabbage in a large bowl and sprinkle the salt over it. Massage the cabbage firmly with your hands for about 10 minutes. You’ll notice it releases a significant amount of liquid — this is your brine, and it’s exactly what you want.
Step 3: Pack the jar Pack the cabbage tightly into your jar, pressing down firmly so the liquid rises above the cabbage. Leave about 2 inches of headspace at the top.
Step 4: Weigh it down Use a glass weight, a folded cabbage leaf, or a small zip-lock bag filled with brine to keep the cabbage fully submerged. This is crucial — any cabbage above the brine line is at risk of mold.
Step 5: Cover and wait Cover the jar loosely with a cloth secured with a rubber band, or use an airlock lid. Place it somewhere at room temperature (65–75°F is ideal) away from direct sunlight.
Step 6: Taste and monitor After 3 days, start tasting your sauerkraut. It will become more tangy over time. Most beginners prefer it at 5–7 days. Once it reaches your preferred flavor, seal it with a regular lid and move it to the fridge — it will keep for months.
Troubleshooting: Common Beginner Questions
Is it supposed to bubble? Yes! Bubbling is a sign that fermentation is active and working. You may see bubbles rising through the brine, especially in the first few days. This is perfectly normal and a very good sign.
There’s white stuff on top — is it mold? White kahm yeast is a harmless film that can form on the surface of ferments. It looks flat and powdery, not fuzzy. Simply skim it off and make sure your vegetables are submerged. Fuzzy mold in colors like black, green, or pink is a sign something went wrong — discard that batch and start fresh.
My cabbage didn’t release enough liquid — what do I do? Mix 1 teaspoon of non-iodized salt into 1 cup of filtered water to make a brine, and pour enough into the jar to fully cover the cabbage. Problem solved.
How do I know when it’s done? Fermentation is done when you are happy with the flavor. There’s no right or wrong — it’s completely personal. Taste it every day and trust your palate.
Can I use tap water for my brine? Chlorine in tap water can interfere with fermentation. Use filtered water, spring water, or leave tap water out overnight to let the chlorine dissipate.
What to Ferment Next
Once you’ve nailed your first sauerkraut, the world of lacto-fermentation opens up beautifully. Here are some wonderful next steps:
- Fermented carrots — sweet, crunchy, and incredibly easy
- Kimchi — spicy, complex, and deeply satisfying
- Fermented garlic — transforms into something almost magical
- Curtido — a light Central American fermented cabbage slaw
- Fermented hot sauce — rich, tangy, and full of depth
- Water kefir — a probiotic-rich fermented drink
Each one uses the same basic principles you learned here. Salt, submerge, wait, taste.
Final Thoughts
Lacto-fermentation is one of those rare skills that feels almost like magic the first time you try it. You take a plain head of cabbage, add salt, wait a week — and out comes something tangy, complex, and alive with beneficial bacteria.
It costs almost nothing. It requires almost no equipment. And the benefits for your gut health are profound.
Start simple. Make your first jar of sauerkraut this week. See how it feels to create something from scratch, to nourish your body with food you made with your own hands.
That’s what Simple Root Life is all about. Welcome to the roots. 🌿
Ready to get started? Here’s a quick summary of the tools I recommend for beginners:
- JILLMO Fermentation Jar 1.5L (2-Pack) — best beginner jar with airlocks included
- Masontops Glass Fermentation Weights— keeps vegetables submerged safely
- Kenley Ceramic Fermentation Crock ½ Gallon — for when you’re ready to go bigger
Did you make your first sauerkraut? I’d love to hear how it went — leave a comment below!